
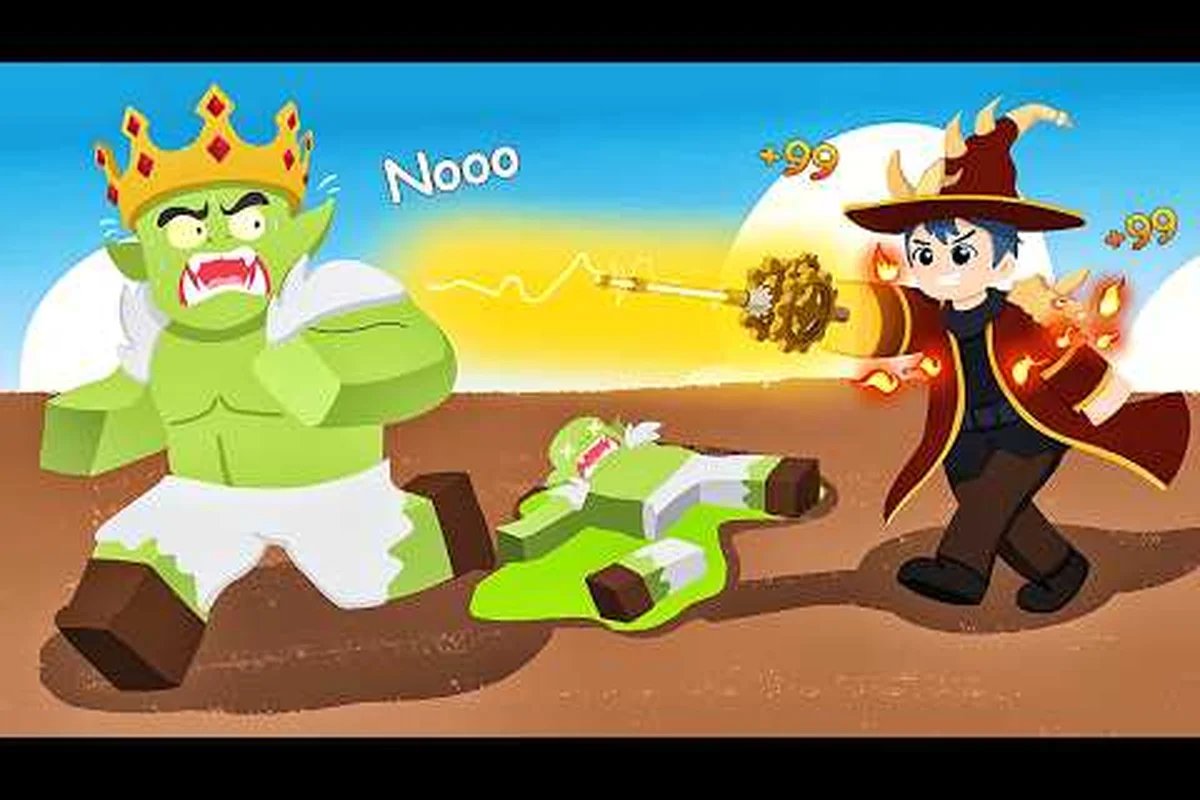
The Magic Loot boss fight system is the real gatekeeper between casual grinding and serious progression in this Roblox incremental RPG. While regular mobs in the dimly lit dungeons and fairytale forests drop coins and basic materials, boss encounters demand a completely different approach built around power checks, attack timing, and phase awareness. Understanding how these fights work will save you dozens of wasted attempts and help you farm the rare loot tiers that make endgame builds possible. Whether you are hunting the goblin boss for alchemy materials or pushing into the hard boss territory that unlocks the best gear, this guide breaks down every mechanic you need to master.
According to Magic Loot, the boss fight’s loot drop rates scale with the number of active players, ensuring higher-tier gear appears more frequently in larger groups.
Understanding the Magic Loot Boss Fight Power Check System
Every Magic Loot boss fight operates on a simple but unforgiving principle: if your Power stat falls below the boss's threshold, your damage output gets reduced to a fraction of what it should be. This is not a soft penalty that you can overcome with better positioning or lucky crits — it is a hard wall that forces you to train your magic, upgrade your wand, and invest in armor before you even think about challenging the next tier of enemies.
The game's official Roblox page describes the core loop as "Train Magic, Defeat Bosses, Collect Rare Loot, Upgrade and Rebirth," and that order matters more than most new players realize. When you first encounter a boss that feels impossible, the answer is rarely a skill issue — it is almost always a Power deficit that no amount of clever dodging can fix.
How Power Checks Scale Across Boss Tiers
The relationship between your Power and boss difficulty follows a predictable curve that community testing has mapped out. Each boss tier requires roughly a 20-30% Power advantage over the previous tier's requirement, and falling below that threshold triggers the damage reduction penalty.
| Boss Tier | Minimum Power | Recommended Power | Damage Penalty Below Minimum |
|---|---|---|---|
| Tier 1 (Goblin Scout) | 500 | 750 | 50% reduction |
| Tier 2 (Goblin Warlord) | 2,000 | 3,000 | 60% reduction |
| Tier 3 (Basilisk) | 8,000 | 12,000 | 70% reduction |
| Tier 4 (Elder Basilisk) | 25,000 | 35,000 | 75% reduction |
| Tier 5 (Dungeon Lich) | 60,000 | 85,000 | 80% reduction |
These numbers come from player reports across multiple server sessions and represent the consensus of the community rather than official developer documentation. The takeaway here is straightforward: check your Power before you engage, because the game will not stop you from fighting a boss you cannot beat, but it will punish you severely for trying.
The Armor Multiplier Stacking Formula
Armor in Magic Loot does not work the way most RPG players expect. Instead of a flat damage reduction percentage, armor pieces apply multiplier stacking that compounds with your base Power. Each armor slot contributes a multiplier, and those multipliers multiply together rather than adding up.
For example, if your chest piece provides a 1.5x multiplier and your boots provide a 1.3x multiplier, your effective Power for boss fight calculations becomes your base Power multiplied by 1.95. This means that investing in armor is not just about survivability — it directly increases your damage output against bosses because the game calculates your effective Power using these stacked multipliers.
This is why the Magic Loot boss requirements always feel higher than they actually need to be if you have optimized armor. A player with 10,000 base Power and three armor pieces providing 1.4x, 1.3x, and 1.2x multipliers effectively fights at 21,840 Power, which comfortably clears the Tier 3 Basilisk threshold. Players who skip armor upgrades and focus only on their wand often struggle against bosses that should be well within their reach.
Mastering the Goblin Boss Encounter
The goblin boss is most players' first real test of the Magic Loot boss fight mechanics, and it teaches lessons that apply to every subsequent encounter. You will find this boss in the early dungeon areas, usually after clearing a few waves of regular goblin mobs. The fight itself has two distinct phases, and understanding the transition between them is the key to a clean kill.
Phase one is straightforward: the goblin boss charges at you with a telegraphed overhead swing. The wind-up animation takes about one second, giving you plenty of time to sidestep or back away. After the swing, the boss is vulnerable for roughly three seconds, which is your window to unload your strongest attacks. The pattern repeats until the boss drops below 50% health.
Phase Two: The Goblin Boss Rage Mode
When the goblin boss hits half health, it enters rage mode. The attack speed increases by roughly 40%, and the wind-up animation shrinks to half a second. This is where most players die, because they try to maintain the same rhythm from phase one and get caught mid-cast.
The correct approach is to stop attacking during the wind-up and focus entirely on positioning. Wait for the swing to miss, then punish with one or two quick attacks before backing off again. Do not try to chain long combos in this phase — the recovery window is too short, and one hit from the enraged goblin boss can take out 30-40% of your health if your armor is under-leveled.
| Phase | Attack Speed | Wind-Up Time | Vulnerability Window | Recommended Strategy |
|---|---|---|---|---|
| Phase 1 | Normal | 1.0 second | 3.0 seconds | Full combo rotation |
| Phase 2 | 140% speed | 0.5 seconds | 1.5 seconds | Hit-and-run tactics |
| Phase 2 (Enraged) | 160% speed | 0.3 seconds | 1.0 second | Dodge only, counter once |
Goblin Boss Drops and Why They Matter
The goblin boss drops Goblin Fingers, which are a critical alchemy ingredient for early potions. According to community reports, the drop rate sits around 30-40% per kill, which means you will need multiple runs to stockpile enough for potion crafting. The boss also drops Wizard Coins and occasionally a rare loot tier item that can be sold for a significant profit.
If you are farming this boss specifically for alchemy materials, you should check our potion ingredients guide to understand exactly how many Goblin Fingers you need for each recipe. The goblin boss is also the most efficient Power-to-reward ratio in the early game, making it the ideal farming target before you transition to harder content.
Basilisk Boss Fight: Timing and Gaze Mechanics
The Basilisk represents the first true hard boss encounter in Magic Loot, and it introduces a mechanic that no previous enemy uses: the gaze attack. When the Basilisk's eyes glow green, you have approximately two seconds to break line of sight before you get hit with a petrification effect that stuns you for four seconds. During that stun, the Basilisk closes distance and lands a devastating follow-up attack.
This gaze mechanic is the reason why the Magic Loot boss fight guide community emphasizes positioning over raw damage output. You cannot simply stand in front of the Basilisk and trade blows — you need to use the environment to break line of sight when the gaze telegraph appears.
Basilisk Attack Patterns and Dodge Windows
The Basilisk has three main attacks that cycle in a semi-random pattern. The tail sweep covers a wide arc behind the boss and requires you to stay at medium range. The poison spit launches a projectile that travels in a straight line, which you can sidestep with good timing. The gaze attack is the most dangerous because it cannot be dodged by movement alone — you must hide behind a pillar or wall.
| Attack | Telegraph | Dodge Method | Punish Window |
|---|---|---|---|
| Tail Sweep | Body coils | Move to front | 2.5 seconds |
| Poison Spit | Head rears back | Sidestep | 2.0 seconds |
| Gaze | Eyes glow green | Break line of sight | 3.0 seconds |
| Charge | Lowers head | Move perpendicular | 1.5 seconds |
Why the Basilisk Is the Magic Loot Strongest Boss Gate
Many players consider the Basilisk the Magic Loot strongest boss relative to the point in progression where you encounter it. The jump in required Power from the goblin boss to the Basilisk is steep, and the gaze mechanic punishes players who have not learned to watch boss animations rather than their own health bar.
The Basilisk also drops Inferno Lotus, an alchemy ingredient that appears in several high-tier potion recipes. Because of this drop, the Basilisk remains relevant even in the late game, and learning to farm it efficiently is a core skill for any serious player. The fight rewards patience and observation, and players who rush it typically die within the first thirty seconds.
Endgame Boss Strategies and Rebirth Considerations
Once you push past the Basilisk, you enter the Magic Loot endgame boss territory where encounters become multi-phase affairs with increasingly complex mechanics. These bosses require not just Power and armor, but a deep understanding of how your build interacts with each boss's specific weaknesses and resistances.
The Dungeon Lich is the current benchmark for endgame content, and it combines every mechanic from earlier bosses into a single fight. It has a gaze attack similar to the Basilisk, a summon phase where it spawns skeletal minions, and a final enrage phase that tests your armor multiplier stacking more than any other encounter in the game.
Preparing for Endgame Boss Requirements
The Magic Loot boss requirements for endgame content go beyond raw Power. You need a balanced build that includes:
-
Wand upgrades focused on damage per second rather than single-hit damage
-
Armor pieces with complementary multipliers that stack efficiently
-
Potion stockpiles for healing and temporary damage buffs
-
Rebirth bonuses that multiply your base stats across all categories
If you are approaching the endgame for the first time, our rebirth guide explains how rebirth bonuses compound with your gear to push you past the Power thresholds that seemed impossible before. Many players make the mistake of rebirthing too early, which actually sets back their boss fight progression because they lose access to higher-tier farming spots.
The Lich Phase Breakdown
The Dungeon Lich fight has three distinct phases, and each one requires a different approach. Phase one is a standard DPS check where you need to burn through the Lich's health while dodging homing skull projectiles. Phase two introduces the summon mechanic, where the Lich raises skeletal minions that heal it if left alive. Phase three is the enrage, where the Lich's attack speed doubles and it starts chaining gaze attacks with summon waves.
The key to the Lich fight is prioritizing adds during phase two while maintaining enough distance to avoid the gaze. Players who tunnel on the Lich during the summon phase often find themselves fighting an endless loop of healing minions that undo all their damage output. Clear the adds first, then resume your DPS rotation on the Lich itself.
Optimizing Your Build for Boss Farming Efficiency
Boss farming in Magic Loot is about more than just winning fights — it is about winning them quickly enough to maximize your loot per hour. The difference between a two-minute boss kill and a five-minute boss kill is massive when you are farming for rare drops, and that difference comes down to build optimization.
The most efficient boss farming builds prioritize burst damage windows over sustained DPS. Because every boss has vulnerability windows after attacks, you want abilities that deal massive damage in short bursts rather than consistent but low damage over time. This means investing in wand upgrades that increase critical strike chance and critical strike damage, even if they come at the cost of base damage.
Comparing Boss Farming Builds
| Build Type | Strengths | Weaknesses | Best For |
|---|---|---|---|
| Burst Crit | Fast kills, high burst | Weak sustain | Goblin boss, Basilisk |
| Tanky Sustained | Survives mistakes | Slow kills | Hard boss attempts |
| Hybrid Balanced | Flexible play | Mediocre at both | Learning new bosses |
| Glass Cannon | Fastest kills | One-shot deaths | Endgame farming |
The glass cannon build is popular among experienced players because it offers the fastest boss kill times, but it requires near-perfect execution. One mistake means death, and in the Magic Loot hard boss content, death means losing your progress on that attempt. If you are still learning boss patterns, the hybrid balanced build is the safer choice.
The Upgrade Priority Question
When it comes to spending your Wizard Coins, the order of upgrades matters more than most players realize. Our upgrade priority guide covers this in depth, but the short version is that wand damage upgrades come before armor upgrades until you hit the point where bosses start one-shotting you. After that threshold, armor multipliers become more valuable because they let you survive mistakes while maintaining your damage output.
This creates a dynamic where your upgrade strategy shifts as you progress through boss tiers. Early on, pure damage is correct because boss attacks are survivable even with minimal armor. In the endgame, armor becomes essential because the Magic Loot endgame boss attacks can take out 80% of your health even with decent gear.
Frequently Asked Questions
What is the minimum Power for the first Magic Loot boss fight?
The goblin boss requires roughly 500 Power to avoid the damage penalty, but the recommended Power is closer to 750 for a comfortable clear. Below 500 Power, you will deal only half damage, which makes the fight take much longer than necessary and increases your chances of making a fatal mistake.
How do I dodge the Basilisk gaze attack?
When the Basilisk's eyes glow green, you have about two seconds to break line of sight by moving behind a pillar or wall. The gaze cannot be dodged by jumping or sidestepping — you must physically hide from the boss's line of sight. Practice this timing before attempting the full fight.
What drops does the goblin boss give?
The goblin boss drops Goblin Fingers at roughly a 30-40% rate, along with Wizard Coins and occasional rare loot tier items. Goblin Fingers are essential for early alchemy recipes, making this boss a valuable farming target even after you have progressed past its Power requirement.
Is the Dungeon Lich the hardest boss in Magic Loot?
It’s a strong contender, but not the hardest. The Dungeon Lich punishes careless positioning with its bone-spike barrage, yet the Void Reaper’s phase shifts and the Clockwork Golem’s timed enrage demand tighter execution. Most players find the Lich easier once you learn to break its phylactery fast.
Should I focus on wand or armor upgrades for boss fights?
Early on, prioritize wand damage because most boss attacks are survivable at that stage. Once their hits chunk you hard, pivot to armor, since multiplier stacking boosts your effective Power for boss calculations. Balance both throughout, but shift weight toward armor when you start dying in two hits, because survival directly extends your farming window.