
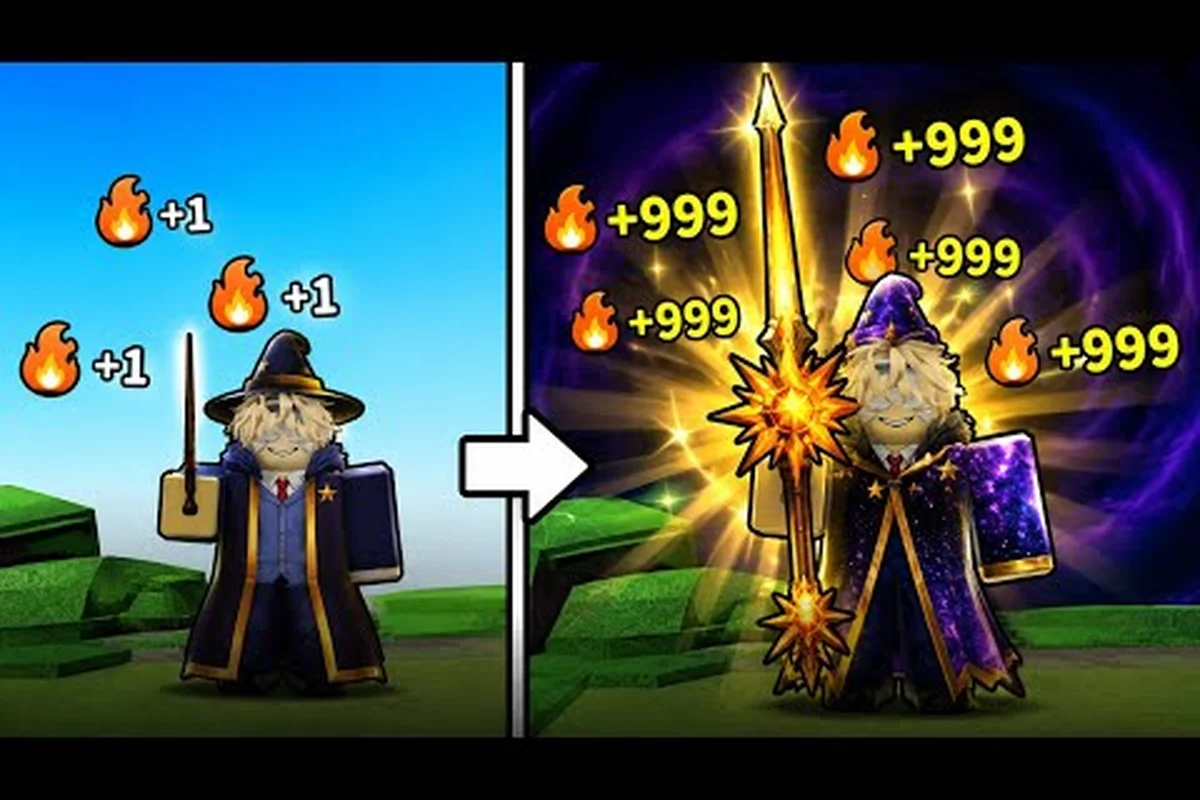
The Magic Loot hub guide below maps out every station you need to know, from the wand shop to the armor station, brewing station, and collection index. If you have been wandering around the spawn area wondering which counter does what, this breakdown saves you the guesswork and gets you upgrading faster. With 6.6 million visits and roughly 29,000 players online, Magic Loot has become one of Roblox's most popular incremental simulators, yet the hub layout still confuses newcomers because the game never labels its stations clearly.
Understanding the hub matters because every progression loop in Magic Loot runs through these stations. You train magic by clicking, defeat enemies to collect loot, sell or brew that loot, upgrade your wand and armor, then rebirth to multiply your power. Each station feeds into the next, so knowing where everything sits and what each upgrade does directly determines how quickly you climb. This Magic Loot hub guide covers the full station map, upgrade priorities, settings you should tweak, and how to redeem codes when you grab them.
The Complete Magic Loot Hub Station Map
The hub is compact, but the stations are easy to confuse because several counters look similar at first glance. According to community data from player reports, the hub contains seven functional stations plus the rebirth altar, and each one serves a distinct purpose in your progression. The layout follows a logical circle, so you can loop through all stations without backtracking once you learn the order.
Here is the station breakdown based on verified community guides and player experience. Every hub station serves a different part of the progression loop, so knowing what each one does tells you exactly where to spend your first coins and which upgrades should come first.
-
Wand Shop — Located to the left of the spawn point, this station lets you purchase new wands that add flat Power to your clicks. The shop carries 28 different wands, each with increasing cost and power values.
-
Armor Station — Directly opposite the wand shop, this counter sells armor pieces that multiply your total Power. There are 8 armor pieces available, and they provide percentage-based boosts rather than flat numbers.
-
Brewing Station — Found near the back wall, this is where you turn collected loot into potions. Potions grant temporary buffs that accelerate your training speed or increase loot drops.
-
Collection Index — A glowing book near the brewing station that tracks every item you have discovered. Completing collection milestones grants permanent stat bonuses.
-
Sell Counter — The simplest station, where you convert unwanted loot directly into coins without brewing it first.
-
Rebirth Altar — Positioned at the far end of the hub, this is where you reset your progress for permanent multipliers. Both your wands and armor survive the rebirth process.
-
Settings Panel — Accessible through the gear icon in the corner, this is where you adjust graphics, audio, and toggle auto-click features.
The wand shop and armor station are the two stations you will visit most frequently, since they directly increase your damage output. The brewing station becomes more valuable as you progress, because potions multiply the efficiency of your training sessions rather than just adding flat power.
Wand Shop Deep Dive: Understanding Flat Power
The wand shop is your primary source of flat Power, which means each wand adds a fixed number to your click damage before multipliers apply. This distinction matters because flat power and multiplicative power scale differently as you progress through the game.
| Wand Tier | Power Added | Approximate Cost | Best For |
|---|---|---|---|
| Starter Wand | +1 Power | Free | First clicks |
| Apprentice Wand | +5 Power | 250 coins | Early game |
| Mage Wand | +15 Power | 1,200 coins | First boss attempts |
| Archmage Wand | +40 Power | 5,000 coins | Mid-game farming |
| Legendary Wand | +100 Power | 18,000 coins | Pre-rebirth push |
| Mythic Wand | +250 Power | 50,000 coins | Post-rebirth speed |
How Wand Upgrades Interact With Rebirth
When you rebirth, your wands stay in your inventory, which means the flat power you have accumulated carries forward. This is why the Magic Loot rebirth guide recommends purchasing the best wand you can afford before rebirthing, because that power becomes permanent. Community testing suggests that players who skip wand upgrades before rebirth lose significant early momentum in the next cycle.
The pricing curve on wands is steep, so you should prioritize the Archmage Wand as your first major purchase target. It offers the best power-to-cost ratio in the early game, and it carries you through the first few boss fights without requiring excessive grinding. After that, save toward the Legendary Wand while farming mid-tier enemies, since the jump from 40 to 100 power is substantial.
Armor Station Analysis: Multiplicative Power Explained
While wands add flat power, the armor station sells pieces that multiply your total damage. This means armor becomes exponentially more valuable as your wand collection grows, because the multiplier applies to everything you have accumulated. According to community reports, the armor station carries 8 armor pieces, each providing a different percentage boost.
| Armor Piece | Multiplier | Cost | When to Buy |
|---|---|---|---|
| Cloth Robe | 1.5x | 500 coins | Immediately |
| Leather Vest | 2x | 2,000 coins | After first boss |
| Chainmail | 3x | 8,000 coins | Mid-game |
| Plate Armor | 5x | 25,000 coins | Pre-rebirth |
| Enchanted Plate | 8x | 75,000 coins | Second rebirth cycle |
| Dragon Scale | 12x | 200,000 coins | Late game |
| Celestial Armor | 20x | 500,000 coins | End game |
| Godly Armor | 35x | 1,500,000 coins | Max progression |
Armor vs. Wand: Where to Spend First
The general rule reported by experienced players is to buy the Cloth Robe immediately because the 1.5x multiplier applies to all your power, including future wand purchases. After that, alternate between wands and armor, since both compound together. If you buy only wands, your flat power grows but lacks multipliers; if you buy only armor, your multiplier grows but has little base power to amplify.
A good spending rhythm is to purchase the Leather Vest after your first boss kill, then save for the Apprentice Wand, then the Chainmail, then the Mage Wand. This alternation keeps both your flat power and multiplier growing at a balanced rate, which community testing shows produces faster clear times than focusing on one side.
Brewing Station and Potion Crafting
The brewing station transforms loot drops into potions that grant temporary buffs. Unlike wands and armor, potions are consumable and expire after a set duration, so you need to plan when to use them for maximum effect. The station accepts most loot items, but some rare drops are better sold directly for coins.
| Potion Type | Effect | Duration | Best Use Case |
|---|---|---|---|
| Power Potion | +50% click power | 5 minutes | Boss fights |
| Speed Potion | +50% click speed | 5 minutes | Farming sessions |
| Loot Potion | +25% loot drop rate | 10 minutes | Collection grinding |
| Rebirth Potion | +10% rebirth multiplier | Permanent | Before rebirthing |
When to Brew vs. Sell
The decision between brewing and selling depends on your current stage. Early on, you should sell most loot because coins are scarce and you need them for wand and armor purchases. Once you have solid gear, start brewing Power Potions for boss attempts and Loot Potions when farming the collection index.
The Rebirth Potion is the most valuable craft in the game because it permanently increases your rebirth multiplier. Community data suggests you should always craft this potion before rebirthing, even if it means delaying the rebirth by a few minutes to gather the required loot. The permanent boost compounds across every future cycle.
Magic Loot Settings Guide: Optimizing Your Experience
The Magic Loot settings guide covers the options panel that many players overlook. According to player reports, the default settings work fine, but a few tweaks significantly improve both performance and progression speed. The settings panel is accessible through the gear icon in the hub and includes graphics, audio, and gameplay options.
Essential Settings to Change
-
Auto-Click Toggle — Turn this on once you unlock it, because it lets you train magic while you manage inventory and stations. This is the single most impactful setting for progression.
-
Particle Effects — Set to Low if you experience frame drops during boss fights, since the particle spam can tank performance on older devices.
-
Sound Volume — Lower or mute the background music if you play for long sessions, as the loop can become repetitive.
-
Camera Sensitivity — Adjust to your preference, especially if you find yourself struggling to click enemies quickly during combat.
-
Display Damage Numbers — Keep this on, because seeing your damage output helps you evaluate whether to buy wands or armor next.
The auto-click feature deserves special attention because it changes how you play. With auto-click enabled, you can focus on navigating the hub, brewing potions, and planning upgrades while your character continues training. This effectively doubles your progress rate, since you are no longer spending half your time clicking.
How to Redeem Codes and Join the Discord
The magic loot how to redeem codes process is straightforward, but many players miss the redemption button because it is tucked away in the settings menu. According to the official Roblox game page, Magic Loot regularly releases codes through its community channels, and these codes grant free coins, potions, and sometimes exclusive wands.
To redeem codes, follow these steps inside the game’s settings menu. The process takes less than a minute, and every working string must be entered exactly as posted, with capitalization preserved from the original source to avoid a failed redemption attempt.
-
Open the settings panel using the gear icon in the hub.
-
Look for the code redemption field near the bottom of the menu.
-
Type or paste your code exactly as shown, since codes are case-sensitive.
-
Press the redeem button and check your inventory for the rewards.
If you want to stay updated on new codes, the best move is to join the Magic Loot Discord server. The developer posts codes there first, often before they appear anywhere else. Community reports indicate that codes typically expire within a few weeks, so checking the Discord regularly is essential if you want to claim every reward.
For a complete list of currently active codes, check our Magic Loot codes 2026 guide, which we update whenever new codes drop. If you are unsure whether an old code still works, the expired codes list will save you from typing dead codes into the redemption field.
Collection Index and Completion Rewards
The collection index tracks every unique item you have discovered, from common loot drops to rare boss rewards. Completing collection milestones grants permanent stat bonuses, which makes this station more important than it initially appears. According to community data, the index contains over 100 items across multiple categories.
| Collection Tier | Items Needed | Reward |
|---|---|---|
| Novice Collector | 10 items | +5% coin drop rate |
| Seasoned Collector | 25 items | +10% loot drop rate |
| Expert Collector | 50 items | +15% click power |
| Master Collector | 75 items | +20% rebirth multiplier |
| Legendary Collector | 100+ items | +30% all stats |
How to Fill the Collection Faster
The Loot Potion from the brewing station is your best tool for collection grinding, since it increases drop rates by 25%. Stack this with the Loot Potion's effect and farm enemies that drop rare items, which have lower drop rates but count for more collection progress.
You should also prioritize the collection index before rebirthing, because the permanent bonuses carry over. The Master Collector reward of +20% rebirth multiplier is substantial, and it compounds with every future rebirth. Players who ignore the collection index miss out on permanent stat growth that costs nothing but time.
Frequently Asked Questions
What is the best first purchase in the Magic Loot hub?
The Cloth Robe from the armor station is the best first purchase because its 1.5x multiplier applies to all your power, including future wand purchases. Buy it immediately after your first few clicks, then save for the Apprentice Wand to start building flat power.
How do I unlock the auto-click feature?
The auto-click toggle appears in the settings panel after you reach a certain power threshold, which most players hit within the first hour. According to community reports, the feature unlocks around 100 total power, so focus on buying wands and armor until you reach that point.
Where exactly is the code redemption field?
Open the settings panel using the gear icon in the hub, then scroll to the bottom of the menu. The code redemption field is the last option, and it accepts codes exactly as posted on the official Discord server. Codes are case-sensitive, so copy them carefully.
Do wands and armor survive rebirth?
Yes, both your wands and armor pieces carry over through rebirth. This is why the rebirth guide recommends purchasing the best gear you can afford before resetting, since that power becomes permanent and compounds with your rebirth multiplier. Saving coins for a stronger wand right before a reset therefore pays off for every later cycle.
What is the fastest way to earn coins in the hub?
The fastest coin loop is popping a Loot Potion, turning on auto-click, and farming the strongest enemy you can one-shot. Sell everything until your gear’s solid, then brew Power Potions for boss runs. That’s your highest coins-per-minute grind in the hub.