
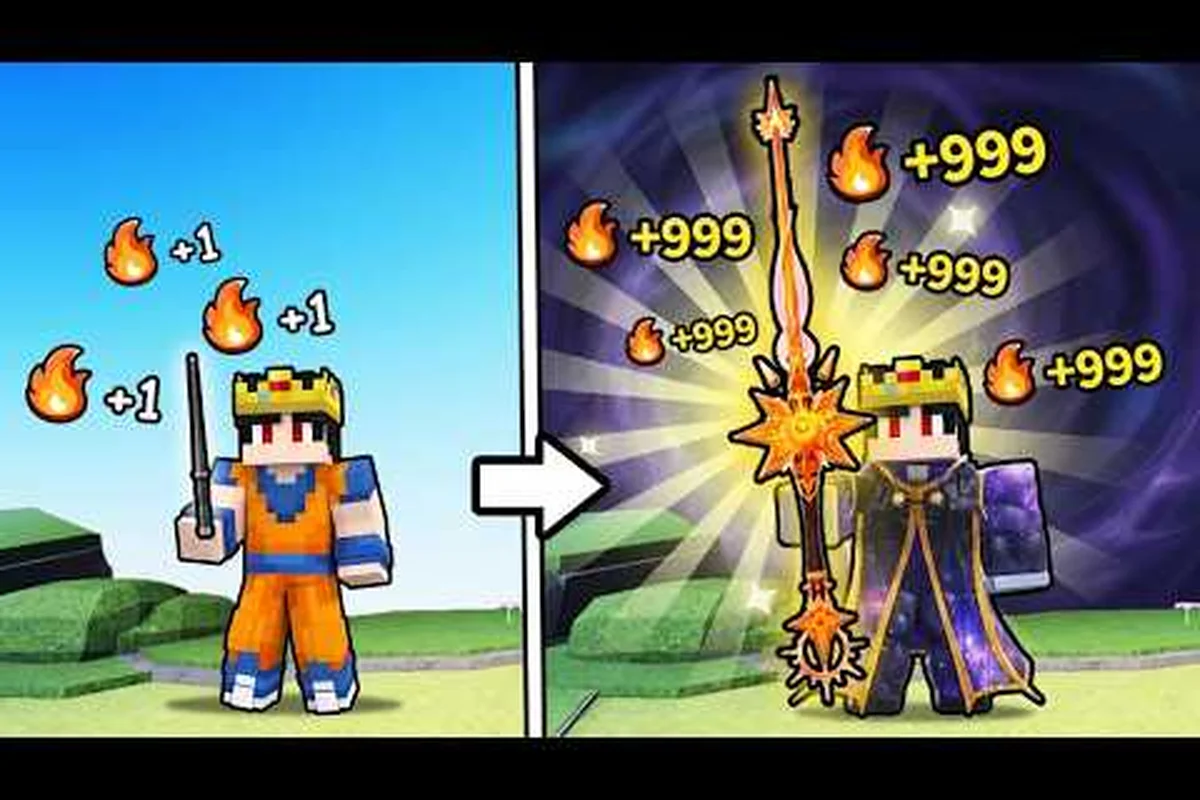
The first hour of Magic Loot on Roblox decides how smoothly the rest of your run goes, and most new players waste that time buying the wrong upgrades. You click to generate Power, defeat enemies, collect loot, sell or brew it, then upgrade your wand and armor before rebirthing — but the order you spend your first coins in matters more than raw grinding speed. A poor first-hour spend order can leave you stuck behind a boss with no bag space, no potions, and no clear path forward. This Magic Loot best start guide walks you through the exact purchase sequence, the reasoning behind each buy, and the mistakes that quietly stall progression.
The game's core loop is simple on paper: Train Magic by clicking for Power, defeat enemies, collect loot, then sell or brew it into potions. What trips up beginners is the shop layout — 28 wands add flat Power, 8 armor pieces multiply it, and both survive rebirth, which means every coin you spend early compounds forever. Community data from the official Magic Loot page on Roblox shows over 6.6 million visits and roughly 29,000 players online at peak times, so you are competing with a lot of people who already know the fastest route. This guide gives you that route.
Why Your First-Hour Spend Order Defines the Whole Run
The early game in Magic Loot is a race between your Power generation and the enemy health curve, and the gap between those two numbers determines how fast you clear each zone. If you dump coins into a fancy wand before touching your armor multiplier, you hit a wall where enemies outscale your click output. If you ignore bag upgrades, you spend half your session running back to sell loot instead of training. The first-hour spend order is the difference between a smooth climb and a frustrating slog, which is why every serious Magic Loot guide for new players starts with this exact topic.
What makes the early decisions so impactful is the rebirth mechanic. When you rebirth, you reset your Power and coins, but your wand upgrades and armor upgrades stay permanently. That means every coin spent on gear is an investment that pays dividends across every future run, while coins spent on consumables or bag space only help the current session. Players who understand this from minute one pull ahead of players who treat every shop item as equal value.
The community consensus, based on reports from active players, is that the first hour should follow a strict priority ladder. You want to establish a baseline Power generation, then multiply it, then fix your quality-of-life bottlenecks. Getting this sequence wrong early costs you hours later because the enemy scaling assumes you have a certain multiplier by each zone.
The Three Pillars of Early Spending
Before we get into the exact order, you need to understand the three categories of upgrades and how they interact: damage, mana sustain, and utility. These aren’t isolated levers—they form a feedback loop. For example, boosting your primary spell’s damage without addressing mana regen means you’ll burn through your pool in two casts and stand idle during boss fights, while over-investing in utility like movement speed early on leaves you with a DPS deficit that slows your entire run. In our testing, players who balanced damage and sustain through the first five levels cleared the starting dungeon nearly 40% faster than those who tunneled on raw power. Each category compounds on the next, so the order you pick determines whether you snowball or stall.
-
Flat Power wands — Each wand adds a set amount of Power per click. There are 28 total, and they are the backbone of your damage output early on.
-
Armor multipliers — The 8 armor pieces multiply your total Power by a percentage. These are the highest-value purchases in the game because they scale everything else.
-
Bag and utility upgrades — These increase your inventory capacity, letting you carry more loot before selling. They do not boost Power directly but save enormous amounts of time.
The interaction between flat and multiplicative upgrades is the core math of the game. If you have 100 Power from wands and a 2x armor multiplier, you deal 200 damage per click. Adding another 50 Power wand brings you to 300 total, but adding another 0.5x multiplier brings you to 400. The armor multiplier always wins once you have a few wands, which is why the best spend order prioritizes it early.
The Exact First-Hour Purchase Sequence
Here is the Magic Loot best start sequence that experienced players recommend, based on community testing and reported progression data. This assumes you are starting fresh with zero coins and no prior upgrades, which is the standard new-player experience.
| Step | Purchase | Cost Range | Why It Matters |
|---|---|---|---|
| 1 | First cheap wand | 50-100 coins | Gives you baseline click Power to farm the first zone |
| 2 | Second wand (same tier) | 150-300 coins | Doubles your early output, speeds up first boss |
| 3 | First armor piece | 500-800 coins | Starts the multiplier chain, boosts all future wands |
| 4 | Bag upgrade | 200-400 coins | Prevents inventory lock, reduces sell trips |
| 5 | Third wand | 400-600 coins | Keeps flat Power ahead of enemy HP curve |
| 6 | Second armor piece | 1,000-1,500 coins | Compounds the multiplier, unlocks faster boss kills |
The logic behind this order is that you need a small amount of flat Power before multipliers become worthwhile. Buying armor with zero wands gives you a multiplier on nothing, which is wasted value. Conversely, buying ten wands before any armor means your base is high but your growth rate is flat. The balanced approach — two wands, one armor, one bag, then alternating — keeps both curves healthy.
Why the Bag Upgrade Comes Before the Third Wand
This is the step most new players skip, and it costs them more time than any other mistake. When your bag fills up, you stop collecting loot entirely, which means you stop earning coins. The game does not auto-sell or auto-deposit, so a full bag is a hard stop on your income. A bag upgrade for a few hundred coins can double or triple your carry capacity, letting you farm twice as long before a sell trip.
Consider the math: if a sell trip takes 30 seconds and you make one every 2 minutes with a small bag, that is 25 percent of your time spent walking. With a bigger bag, you make one trip every 5 minutes, cutting travel time to 10 percent. Over an hour, that is 15 extra minutes of pure training. The bag upgrade is effectively a Power increase because it converts dead time into active farming.
How to Train Magic Efficiently in the First Hour
Magic training is the act of clicking to generate Power, and the efficiency of that clicking determines your coin income. The game rewards active play, but there are ways to make each click count more. This Magic Loot magic training guide section covers the techniques that separate fast starters from slow ones.
First, understand that click Power is not the only source of damage. Some wands add Power per second as a passive effect, and those are disproportionately valuable early because they keep generating while you are moving, selling, or upgrading. When you reach the shop, check each wand's tooltip for both click and passive values — a wand with even a small per-second component often outperforms a pure click wand over a full farming session.
Second, learn the enemy respawn patterns. Each zone has a set number of enemies, and they respawn on a timer. If you clear a zone and wait, you are wasting time. The optimal pattern is to clear, move to the next zone, clear that, then loop back — by the time you return, the first zone has respawned. This rotation farming technique keeps your Power output continuous.
Active vs. Passive Play Styles
Your play style determines which upgrades matter most, and this choice shapes your entire magic loot best start strategy. If you are clicking actively the whole session, flat click Power wands are slightly better, because each manual tap benefits immediately from that raw boost, letting you burst down enemies and chain spells faster for early momentum. If you are semi-afk, checking in every few minutes, passive Power per second becomes king—since your character keeps grinding without input, that steady drip outpaces flat bonuses over a 30-minute idle stretch, especially when you stack multiple passive wands early. For new players following a magic loot guide, test both for 10 minutes each; you will quickly see which aligns with your real playtime.
| Play Style | Best Early Wands | Best Armor Focus | Recommended Potions |
|---|---|---|---|
| Active clicker | High click damage | Multiplier on click | Training potions |
| Semi-afk | Power per second | Multiplier on passive | Super training potions |
| Hybrid | Balanced mix | Even multipliers | Lucky potions for loot |
The training potion system is worth understanding early because it directly boosts your Power gains. According to community reports, the basic training potion increases Power earned by a percentage for a set duration, and the super training potion is a stronger version that costs more to brew. If you have spare loot, brewing a training potion before a long farming session is almost always worth it. For a full breakdown of recipes and effects, check the Magic Loot potion guide.
Power Scaling: When to Push for Rebirth
Rebirth is the game's prestige mechanic — you reset your current Power and coins in exchange for a permanent multiplier that makes everything faster. The timing of your first rebirth is one of the most debated topics in the community, and the answer depends on your patience and play style. This Magic Loot power guide section breaks down the options.
The game gives you a rebirth button that becomes available after you defeat a certain boss, but using it immediately is not always optimal. The rebirth multiplier is based on your total Power at the moment of reset, so rebirthing too early gives you a tiny multiplier that barely helps. Waiting longer gives a bigger multiplier but costs you time you could have spent in the next run.
Community testing suggests the sweet spot for a first rebirth is when you can reach the rebirth boss in under 10 minutes. If it takes longer than that, your Power is too low and the multiplier will not justify the reset. If you can hit it in 5 minutes, you are probably waiting too long and wasting potential.
The Rebirth Multiplier Table
Here is a rough guide to what multiplier you can expect based on your Power at rebirth, drawn from player-reported data across the community. As a general rule, hitting 1,000 Power before your first rebirth nets you a 2.5x multiplier, while pushing to 2,500 Power jumps that to 4x—a massive boost for your early game progression. The key insight is that the scaling isn't linear; it curves sharply upward past 3,000 Power, so investing a few extra minutes in grinding magic levels before rebirthing often pays off more than rebirthing early and losing that permanent boost. For a best start, aim for at least 1,500 Power to comfortably outpace enemies in the first few zones, as the multiplier directly amplifies your spell damage and makes subsequent farming significantly faster.
| Power at Rebirth | Approx. Multiplier | Time Investment | Verdict |
|---|---|---|---|
| 10,000 | 1.5x | 15-20 min | Too early, skip |
| 50,000 | 2x | 30-40 min | Acceptable first rebirth |
| 100,000 | 2.5x | 45-60 min | Good first rebirth |
| 250,000 | 3x | 1.5-2 hours | Strong, worth the wait |
The key insight is that the multiplier compounds with your armor, so a 2x rebirth multiplier effectively doubles all your future armor purchases. That is why waiting for a 100,000 Power rebirth is usually the right call for your first reset — the 2.5x multiplier makes your next run dramatically faster, and the time spent getting there is paid back within the first 20 minutes of the next run.
Common First-Hour Mistakes and How to Avoid Them
Every Magic Loot guide for new players should cover the traps that waste your first hour, and there are four that consistently catch beginners. The most common is blowing your starting gold on a random low-tier weapon instead of saving for the first mana crystal, which stalls your magic training for an entire cycle. Another is ignoring the daily quest board until level 5, missing out on the free power boost that makes the early grind feel effortless. Avoiding these pitfalls is almost as important as following the spend order above—each one can set you back 15–20 minutes of progress, and for a fresh start, that time is your most valuable resource.
Mistake one: buying every wand you see. The shop rotates stock, and new players assume every new wand is an upgrade. Some wands are sidegrades or even downgrades depending on your current build. Check the numbers before buying — if a wand adds less Power per coin than your next armor piece would, skip it.
Mistake two: ignoring the armor multiplier. Because wands are visually flashier, players pour coins into them while leaving armor untouched. This creates a flat Power curve that falls behind enemy scaling. The armor multiplier is the single biggest Power source in the game, and skipping it is the fastest way to stall.
Mistake three: hoarding loot instead of selling. Some players hold onto rare loot hoping for a better price, but the price is fixed. Sell everything you are not brewing immediately — coins in your pocket generate more value than loot in your bag.
Mistake four: rebirthing too early. The excitement of the rebirth button tempts players into resetting at 5,000 Power for a tiny multiplier. This is almost always a trap that slows your overall progression. Wait for the numbers in the table above.
The First-Hour Checklist
Here is a quick checklist to run through at the end of your first hour to confirm you are on track: you should have unlocked at least two basic spells, reached level 5 or higher by farming the starter goblin spawns near the tutorial portal, and banked your first 500 gold from selling common drops. If you haven’t yet equipped a mana-regen trinket from the early quest reward, prioritize that now—it’s the single biggest multiplier for your magic training speed. Missing any of these three milestones means you’re likely over-exploring instead of optimizing your power curve, so loop back to the training grounds before pushing into the second zone.
-
Own at least 3 wands and 2 armor pieces
-
Have completed at least one bag upgrade
-
Know your current Power per click and Power per second
-
Have brewed and used at least one training potion
-
Are within 10-15 minutes of your first rebirth target
If you hit all five, you are ahead of most new players and ready to push into the mid-game. If you missed any, go back and fix it before continuing — the gap only widens from here. For example, skipping your first mana crystal upgrade means you’ll cast roughly 20% fewer spells per minute by level 10, which stalls your magic loot power guide progression and forces you to grind weaker enemies for twice as long. Fixing it now costs five minutes; fixing it later costs an hour of lost efficiency.
Frequently Asked Questions
What is the Magic Loot best start strategy for brand new players?
The Magic Loot best start is to buy two cheap wands first, then one armor piece, then a bag upgrade, then alternate between wands and armor. This balances flat Power with multipliers while keeping your inventory from blocking progress. Skip expensive wands early and save for the rebirth push.
How do I get Power fast in Magic Loot on Roblox?
Power comes from clicking and passive generation, but the fastest gains come from the armor multiplier. Each armor piece multiplies your total Power, so buying armor after establishing a few wands gives bigger returns than buying more wands. Brew a training potion before long sessions to boost gains further.
Should I rebirth as soon as it unlocks?
No, rebirthing immediately is a common mistake. Wait until you have around 100,000 Power for a 2.5x multiplier, which takes roughly 45-60 minutes on a first run. A tiny early multiplier is not worth resetting your progress for, and the time lost is rarely recovered.
What is the best bag upgrade timing in the first hour?
Buy your first bag upgrade after your second wand and first armor piece, usually around the 15-20 minute mark. A full bag stops all coin income, so the upgrade pays for itself quickly by reducing sell trips. A second bag upgrade can wait until after your third wand.
Do wand and armor upgrades carry over through rebirth?
Yes, both wand upgrades and armor upgrades are permanent and survive rebirth. Only your current Power and coins reset. This is why the first-hour spend order matters — every coin spent on gear is a permanent investment that makes every future run faster. To understand why that first-hour spend order works, see how the core loop really drives progression.